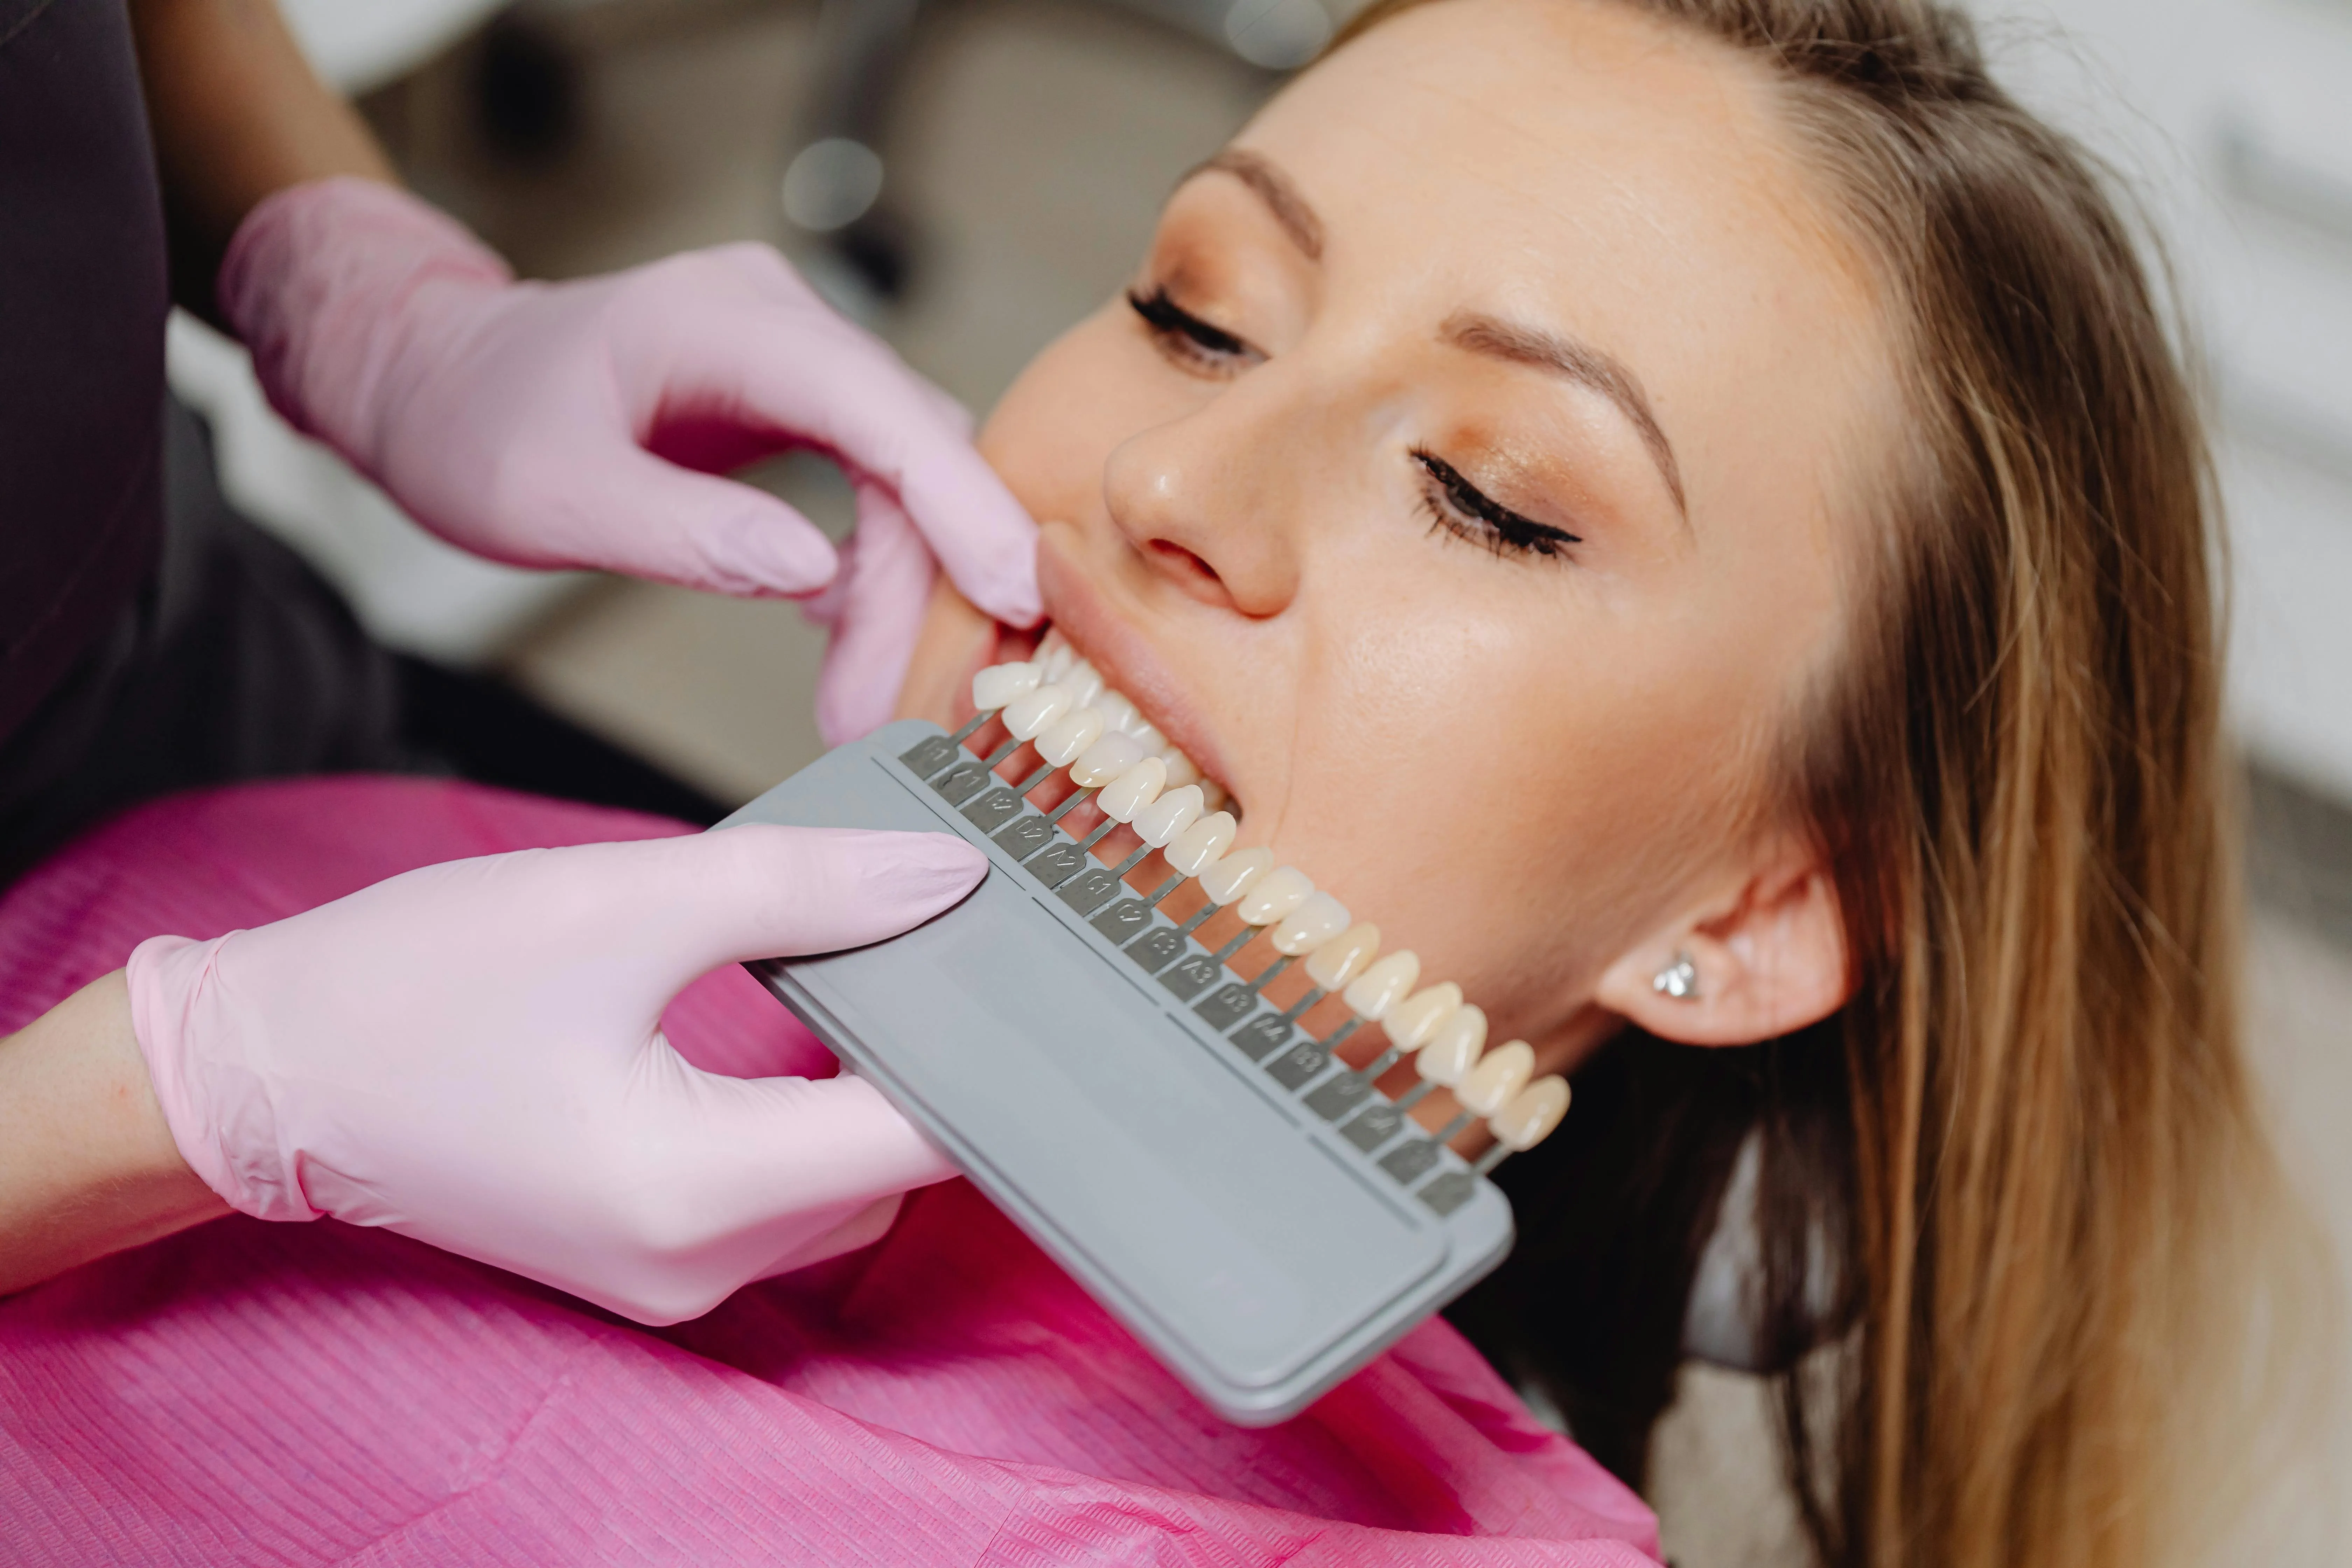
What is Free Teeth Whitening Photo Editing
Free teeth whitening photo editing is the process of digitally enhancing the appearance of teeth in a photograph to make them appear whiter and brighter, using software that is available at no cost. This technique is widely used by individuals, businesses, and professionals alike to improve the aesthetic appeal of images, whether for personal use, social media, or marketing purposes. It involves a series of adjustments to the color, brightness, and contrast of the teeth within a photo, often combined with sophisticated selection techniques to ensure a natural-looking result. The rise of free, readily accessible photo editing tools has made this skill more accessible, empowering users with the ability to transform images without requiring expensive software or specialized training. The goal is to subtly enhance the smile, boosting confidence and improving the overall impression of the photograph.
Benefits of Using Free Photo Editing for Teeth Whitening
The advantages of utilizing free photo editing software for teeth whitening are numerous, making it an attractive option for many. Firstly, the most obvious benefit is the cost – zero. This eliminates the financial barrier often associated with professional photo editing services or premium software subscriptions. Secondly, free tools provide accessibility; they are easily downloadable and often come with user-friendly interfaces, allowing even beginners to achieve professional-looking results. Another key benefit is the flexibility it offers. Users can edit their photos anytime, anywhere, without being bound by appointments or deadlines. This autonomy is particularly appealing for those who frequently share images on social media or need to edit photos for personal or professional use quickly. Furthermore, practicing with free tools allows individuals to experiment with different techniques and develop their skills, paving the way for more advanced editing in the future. It’s a great way to learn and improve your photo editing proficiency without any financial risk.
How to Choose the Right Free Photo Editor for Teeth Whitening

Selecting the right free photo editor is crucial for successful teeth whitening. Several factors should guide your choice. First, consider the user interface; opt for a program with a clean, intuitive layout that is easy to navigate, especially if you are a beginner. Secondly, assess the availability of the necessary tools. The editor should offer features such as brightness and contrast adjustments, color correction tools, and selection tools (like a lasso or magic wand) to isolate the teeth. Thirdly, look for a software that supports layers, which allows for non-destructive editing and easier experimentation. Fourthly, check the file format compatibility; ensure that the editor supports the file types you typically work with, such as JPEG and PNG. Reviews and tutorials are incredibly helpful; before making a decision, search for reviews and tutorials specific to teeth whitening within the software. This will help you determine if the software is suitable for your needs. Also, consider the software’s compatibility with your operating system (Windows, macOS, or online). This ensures you can download and run the software without any issues.
Free Photo Editing for Teeth Whitening Step-by-Step Guide
This comprehensive guide will help you through the process of teeth whitening using free photo editing tools. Each step is designed to be easy to follow, allowing you to achieve natural-looking results. Remember to practice and adjust the settings to suit your specific image and desired outcome. Experimentation is key. This step-by-step approach ensures that you can confidently whiten teeth in your photos, improving their overall look and feel. The process is more straightforward than you might think, and with the right tools and techniques, you can quickly enhance the appearance of smiles in your photos.
Step 1 Open Your Image and Duplicate the Layer
Begin by opening the image you want to edit in your chosen free photo editor. Once the image is open, the first crucial step is to duplicate the original layer. This is typically done by right-clicking on the layer in the layers panel and selecting “Duplicate Layer” or a similar option. Duplicating the layer preserves the original image, allowing you to make changes without permanently altering the initial photograph. This is essential for non-destructive editing, where you can experiment with different techniques and settings without the fear of making irreversible mistakes. This process allows you to revert to the original if you make mistakes, ensuring flexibility and control throughout the editing process. The duplicate layer is where you will work, ensuring your original image remains untouched.
Step 2 Select the Teeth Using a Selection Tool

Using a selection tool is critical to isolate the teeth. Most free photo editors offer various selection tools, such as the lasso tool, the magic wand tool, or the quick selection tool. Choose the tool that you find easiest to use and that best suits the image. The goal is to accurately select only the teeth, avoiding the gums and other surrounding areas. For the best results, take your time and zoom in closely on the teeth to ensure a precise selection. The more accurate the selection, the more natural the final result will appear. After the teeth are selected, the adjustments you make will affect only the selected area, making this a crucial step in achieving a realistic outcome. Practice and experimentation with different selection tools will help you to refine your skill over time.
Step 3 Adjust Brightness and Contrast
With the teeth selected, adjust the brightness and contrast. These two settings work together to control the overall lightness and darkness and the difference between the light and dark areas of the teeth. Increase the brightness slightly to make the teeth appear whiter, but be cautious not to overdo it, as this can result in an unnatural, artificial look. Simultaneously, you can slightly adjust the contrast to enhance the definition of the teeth. Experiment with small adjustments until you achieve the desired effect. It’s important to monitor your changes carefully and compare your edited version with the original to ensure the results are realistic and flattering. Remember, subtlety is key; aim for a natural-looking enhancement rather than an extreme makeover. Usually, you can find these settings under ‘Adjustments’ or ‘Image’ menu.
Step 4 Use the Color Correction Tools
Color correction tools are essential for fine-tuning the shade of the teeth. Many free photo editors provide tools like ‘Hue/Saturation’ and ‘Color Balance.’ Use these tools to adjust the yellow or other undesirable hues in the teeth. By slightly desaturating the yellow tones, you can make the teeth appear whiter. Be cautious not to over-saturate or desaturate, as this can lead to unnatural color shifts. Use the color balance tool to introduce subtle shifts that will help improve the teeth appearance, and making sure to keep the tones natural looking. Experiment with the settings until you achieve a color that looks natural and balanced with the rest of the image. Regular checking and comparing with the original are crucial to maintain the natural look. Fine adjustments and a keen eye are the keys to realistic color correction.
Step 5 Apply a Touch of Sharpening

After color and brightness adjustments, applying a touch of sharpening can enhance the detail and definition of the teeth. This step can make the teeth appear crisper and more defined, but it should be applied with moderation. Most photo editors include a ‘Sharpen’ or ‘Unsharp Mask’ filter. Apply the filter carefully, typically with a low-intensity setting. Over-sharpening can lead to noticeable artifacts and an unnatural look. The goal is to enhance the edges without making them look artificial. Always preview the results at 100% to ensure the sharpening effect is subtle and complements the overall aesthetic of the image. A well-applied sharpening filter should add a final touch of polish to your teeth whitening efforts.
Step 6 Finalize and Save Your Edited Image
Before saving the image, review all your edits and compare the final result with the original to make sure you are happy with the outcome. Make any final adjustments as needed. Once satisfied, it’s time to save the edited image. When saving, choose the appropriate file format for your intended use. For most applications, such as sharing online, JPEG is a suitable choice because it offers a good balance between file size and quality. If you need to preserve the layers for further editing, save the image in a format that supports layers, such as PSD or TIFF. Also, give your file a descriptive name that reflects the edits you made. This helps keep your files organized. Finally, always back up your edited images to prevent any data loss. After these steps, you are ready to share your newly enhanced photos.
Common Mistakes to Avoid in Teeth Whitening Photo Editing
Avoiding common mistakes is critical for producing natural-looking teeth whitening results. One of the most frequent errors is over-whitening, which leads to an artificial appearance. Another common mistake is a poor selection of the teeth, which can result in color bleeding or unnatural edges. Failing to use the layer option can cause irreversible changes to the original image, making it difficult to adjust or undo steps. Ignoring the gums can also make the teeth look artificial, so always keep the gums’ natural color when editing. Over-sharpening, as previously mentioned, can introduce artifacts and an unnatural look. Not checking the result on a larger scale may result in mistakes. It’s important to maintain the original characteristics of the teeth. Finally, using an inappropriate tool will make it difficult to create natural changes. By avoiding these pitfalls, you can significantly improve the quality of your edits.
Tips for Achieving Natural-Looking Teeth Whitening

Several tips can help you achieve natural-looking teeth whitening results. First, always begin with a careful selection of the teeth using a precise selection tool to avoid affecting the gums. Then, apply subtle adjustments to brightness and contrast. Instead of drastic changes, use small increments to gradually lighten the teeth. Next, use the color correction tools to remove yellowing and enhance the natural white color of the teeth without making them appear artificial. Also, try to match the color of the teeth to the surrounding environment, such as the lighting and skin tones. Practice consistently, and compare your results with the original image frequently to ensure a natural look. Finally, consider the overall aesthetic of the photo and ensure that the teeth whitening complements the image’s style and tone. The goal is to subtly improve the smile without making it appear obviously edited.
Resources for Learning More About Free Photo Editing
Numerous resources are available to help you learn more about free photo editing and enhance your skills. Online tutorials are a great place to start. YouTube and other video-sharing platforms offer countless video tutorials covering various aspects of photo editing, including teeth whitening techniques. Software-specific tutorials are also available for popular free editors. These provide step-by-step guides on how to use the tools and features of a particular software. Many websites and blogs dedicated to photography and photo editing feature articles, tips, and tutorials for free editing tools. Online forums and communities provide platforms for users to share their work, ask questions, and receive feedback. Participating in these communities can offer valuable insights and inspiration. Practice is key to mastering any skill. By utilizing these resources and practicing consistently, you can greatly improve your proficiency in teeth whitening photo editing. Don’t hesitate to experiment and develop your unique techniques.